Safe DIY Hummingbird Nectar: The 4:1 Ratio & What NOT to Use
There's an undeniable magic in spotting a hummingbird darting through your garden. These tiny, iridescent jewels, with their incredibly rapid wingbeats and seemingly boundless energy, are a true delight. Providing them with a reliable food source can transform your backyard into a bustling haven for these aerial acrobats. Fortunately, making your own
Diy Hummingbird Nectar is not only incredibly simple and cost-effective, but it's also the safest option for their delicate systems. Forget pre-packaged mixes with questionable ingredients; all you need are two common household items to craft a perfectly balanced, life-sustaining meal for your feathered friends.
Crafting the Perfect Brew: The Essential 4:1 Ratio
The secret to safe and effective
Diy Hummingbird Nectar lies in mimicking nature's design. The nectar found in flowers is primarily a simple sugar solution, and our homemade version should be no different. The widely approved and recommended recipe is a precise 4:1 ratio of water to sugar. This concentration is crucial, as it provides the necessary energy without being overly thick or thin, ensuring optimal digestion and energy absorption for these incredibly active birds.
Here's how to whip up a batch:
Ingredients:
- 1 Cup Refined White Granulated Sugar
- 4 Cups Boiling Water
Instructions:
- Boil the Water: Bring the 4 cups of water to a rolling boil. This step is important for two reasons: it helps sterilize the water, and it ensures the sugar dissolves completely.
- Dissolve the Sugar: Once the water is boiling, remove it from the heat and immediately add the 1 cup of refined white granulated sugar. Stir continuously until the sugar is fully dissolved and the water is clear again. You'll want to ensure no sugar crystals remain.
- Cool Completely: Allow the nectar to cool down to room temperature before filling your feeders. Hot nectar can be harmful to hummingbirds and can also damage plastic feeders.
- Store Properly: Any leftover nectar should be stored in a clean, airtight container in the refrigerator. It will stay fresh for up to two weeks.
A smaller batch for a single feeder or less frequent use can be made by using 1/4 cup of sugar to 1 cup of boiling water. This proportional approach means you can scale up or down as needed, always maintaining that critical 4:1 ratio. This simple, National Audubon-approved recipe is the foundation for a healthy hummingbird diet, perfectly replicating the natural nectar they seek out in flowers. For more detailed tips and variations, consider checking out our guide on
DIY Hummingbird Nectar: Easy Recipe & Essential Tips for Happy Birds.
Crucial Don'ts: What NOT to Use in Your Nectar
While your intentions are always good, providing the wrong ingredients in your
Diy Hummingbird Nectar can have severe and even fatal consequences for these fragile creatures. The privilege of hosting hummingbirds comes with a vital responsibility to provide only safe and nourishing food. This section is perhaps the most important, as it addresses common mistakes that can turn a helpful gesture into a harmful one.
Absolutely AVOID These Ingredients:
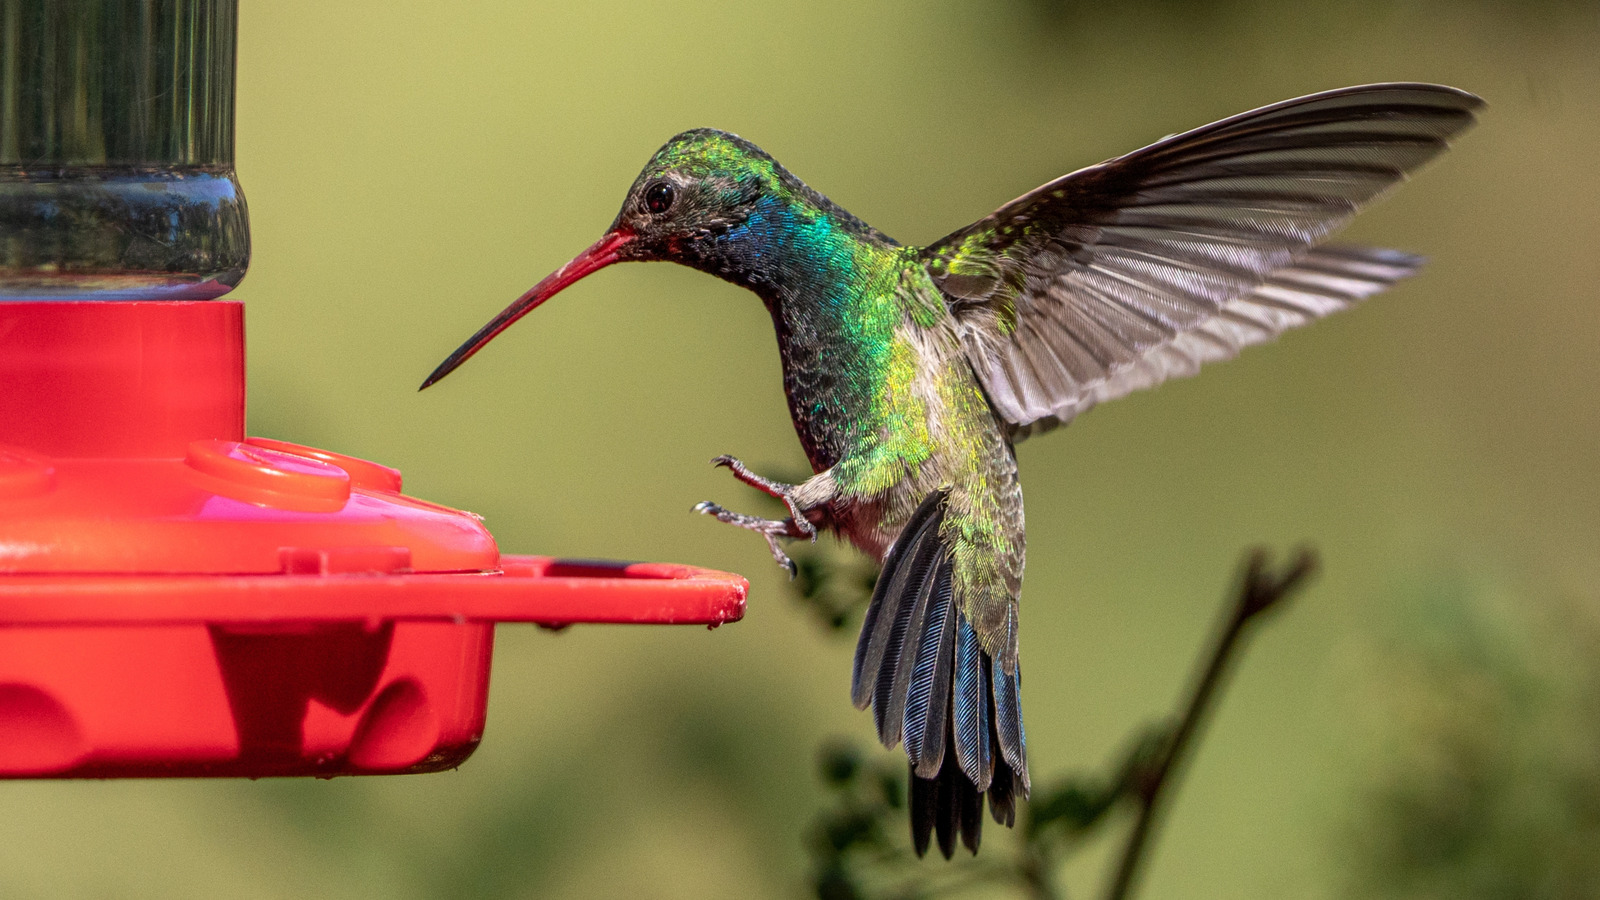
- Red Dye: This is perhaps the most common misconception. Hummingbirds are attracted to the color red, but it should be the feeder itself that is red, not the nectar. Artificial red dyes have been proven to be harmful, causing tumors and other health issues in hummingbirds. Stick to clear nectar; the red parts of your feeder are enough to attract them.
- Honey: While honey is a natural sugar, it is absolutely unsuitable for hummingbirds. The natural composition of honey can promote the rapid growth of dangerous bacteria and fungi (like mold) in your feeder, which can lead to a fatal tongue infection or other illnesses. Honey can also ferment quickly, creating alcohol that is toxic to hummingbirds.
- Artificial Sweeteners/Sugar Substitutes: Never use any form of artificial sweetener, Splenda, Stevia, Xylitol, or other sugar substitutes. Hummingbirds require a high-calorie diet to fuel their incredibly fast metabolism – their heart rates can reach up to 1200 beats per minute! Artificial sweeteners provide no caloric value and therefore offer no energy, effectively starving the birds. Many can also be toxic.
- Brown Sugar, Organic Sugar, Turbinado, or Raw Sugar: Only use plain, refined white granulated sugar. Unrefined sugars like brown sugar, organic sugar, or raw sugar contain iron and other minerals that, while fine for humans in small amounts, can be toxic to hummingbirds when consumed regularly through their main food source. Their delicate systems are not equipped to process these impurities.
- Fruit Juices or Other Syrups: Do not add fruit juices, corn syrup, molasses, or any other type of syrup to your nectar. These can ferment rapidly, attract unwanted insects like wasps and bees, and contain substances that are difficult for hummingbirds to digest.
The golden rule is simple: if it’s not refined white sugar and clean water, it doesn’t belong in your hummingbird feeder. For further clarity on approved ingredients, review our article:
National Audubon Approved: Make Simple & Safe Hummingbird Nectar at Home.
Beyond the Feeder: Creating a Hummingbird-Friendly Haven
Providing fresh, safe
Diy Hummingbird Nectar is a fantastic start, but creating a truly welcoming environment involves more than just a feeder. Hummingbirds have specific needs for a well-rounded diet and habitat.
A Holistic Approach to Hummingbird Care:
- Plant Nectar-Rich Flowers: While feeders are helpful, natural flower nectar is always preferred. Fill your garden with vibrant, nectar-filled plants. Hummingbirds are particularly drawn to bright colors (especially red, orange, and pink) and tube-shaped flowers. Excellent choices include Lobelia, Salvia, Zinnias, Lantana, Agastache, Cuphea, Honeysuckle, Echinacea, Bee Balm, and Cardinal Flower.
- Don't Forget Insects: Hummingbirds don't live on nectar alone! About 10-15% of their diet consists of tiny insects, spiders, and gnats, which provide essential protein. A healthy, pesticide-free garden that attracts beneficial insects will also provide this vital food source.
- Optimal Feeder Placement: Place your feeders in an open section of your yard, providing a clear, obstacle-free flight path for the birds. This also gives them a good vantage point to watch for predators. Avoid placing feeders too close to dense shrubs where cats or other predators might hide.
- Feeder Cleaning is Non-Negotiable: This is as important as the recipe itself. Nectar can quickly grow mold and bacteria, especially in warm weather. Clean your feeders thoroughly every 1-2 days in hot climates (above 80°F/27°C) and every 2-3 days otherwise. Use hot water and a bottle brush; avoid soap if possible, or rinse extremely thoroughly to ensure no residue remains. A diluted vinegar solution can be used for a deeper clean, followed by a meticulous rinse. Regularly inspecting feeders for any signs of mold is crucial.
- Water Source: While hummingbirds get most of their water from nectar, a fine mist from a sprinkler or a shallow bird bath with a dripper can provide a welcome opportunity for them to bathe and drink.
Remember, hummingbirds are marvels of nature, weighing less than a nickel and unable to use their tiny feet to walk or hop – only to scoot sideways when perched. They consume prodigious amounts of energy, visiting anywhere from 1,000-2,000 flowers a day, or feeding every 10-15 minutes from a feeder. With changing habitats and environmental pressures, our backyard efforts become even more significant.
Conclusion
Making your own
Diy Hummingbird Nectar is a rewarding experience that directly contributes to the well-being of these enchanting birds. By adhering to the simple 4:1 water to refined white sugar ratio and diligently avoiding harmful ingredients like red dye, honey, and artificial sweeteners, you can provide a safe and vital food source. Combine this with thoughtful feeder placement, rigorous cleaning, and a garden rich in nectar-producing flowers and insects, and you'll create a thriving sanctuary for these tiny, magnificent creatures. Your efforts will not only bring immense joy but also play a crucial role in supporting the survival of these incredible aerial acrobats.